
Diagnosing and Clearing a Clogged Defrost Drain or Faulty Drain Pan
Introduction: Don’t Panic! That Puddle is a Common Problem
Discovering a puddle of water under your refrigerator can be alarming, but don’t worry—this is one of the most common appliance issues you can encounter. It rarely signals an expensive disaster. In most cases, that mysterious leak points to a simple clog in the refrigerator’s defrost drain system.
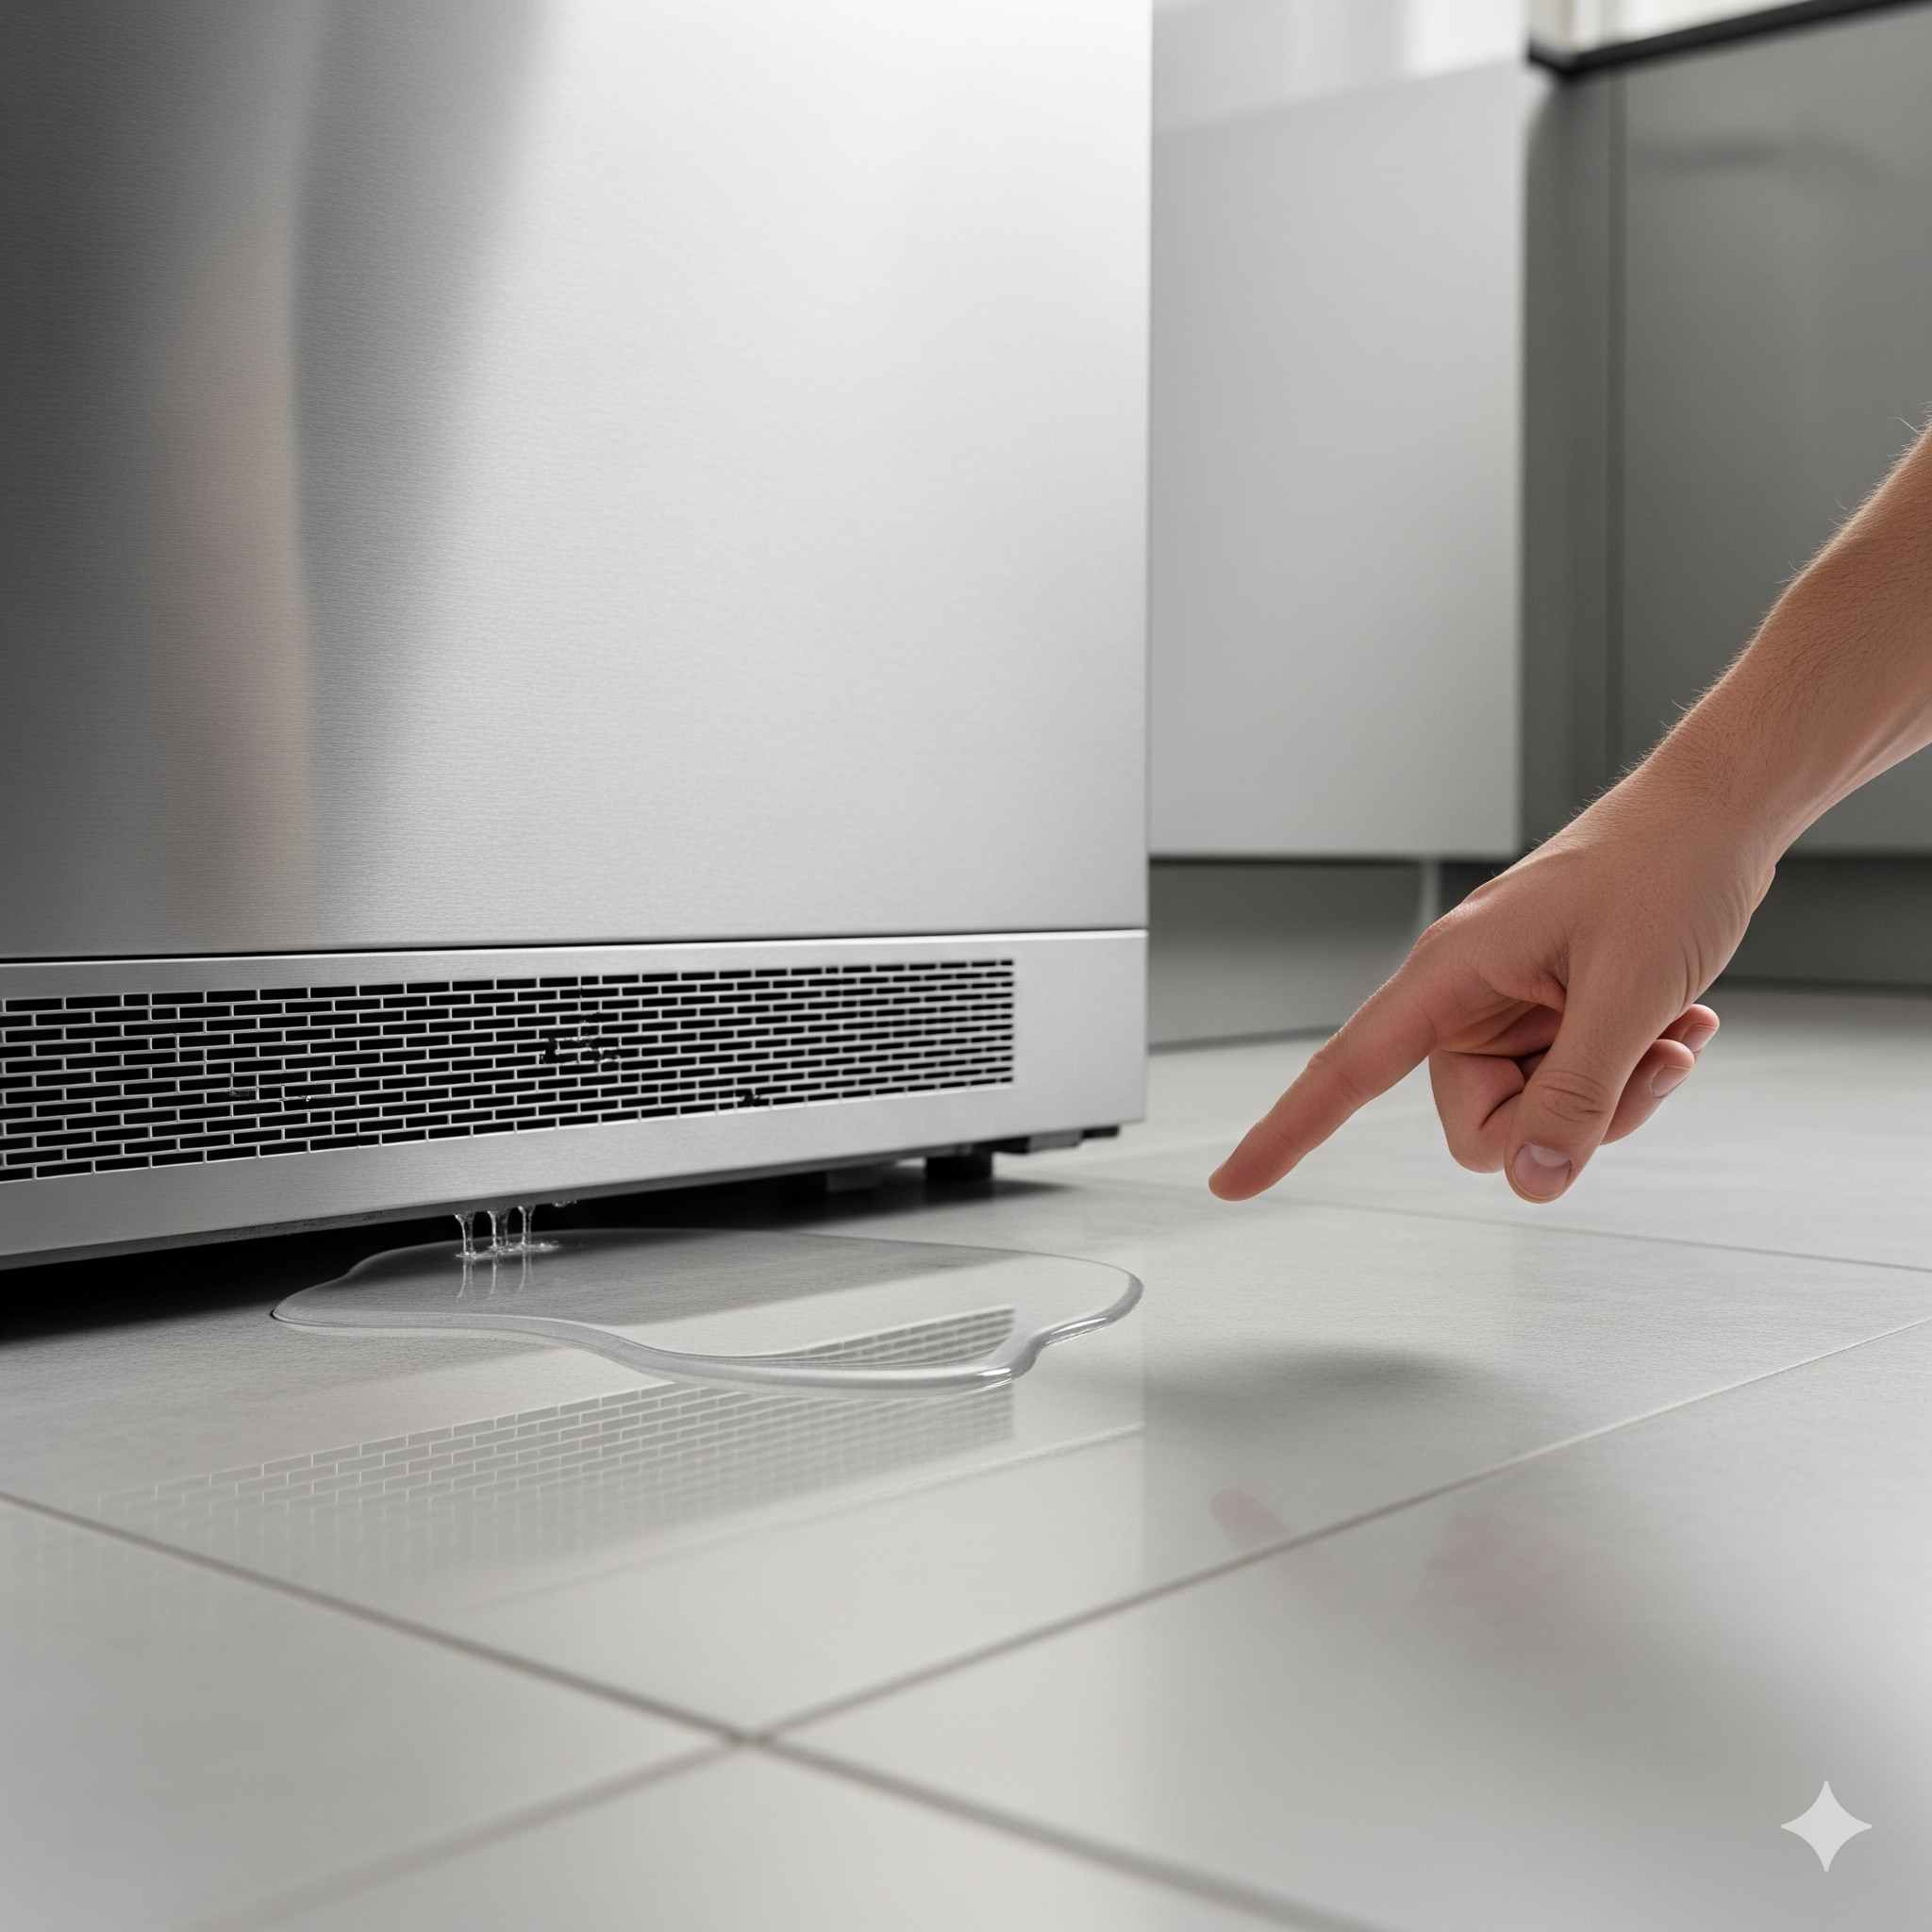
A water puddle under your refrigerator is usually caused by a simple blockage in the defrost drain system—not a major appliance failure.
This guide is designed to empower you to solve the problem yourself. We’ll walk you through diagnosing the cause, clearing the blockage using common household items, and inspecting other potential culprits. You can do this!
1. Before You Begin: Safety and Preparation
Taking a few moments to prepare will ensure the process is safe and smooth. Follow these essential first steps.
- Unplug the Refrigerator: This is the most critical step. Disconnecting the appliance from the wall outlet eliminates the risk of electrical shock while you work.
- Gather Your Tools: You likely have everything you need already. Collect a turkey baster or large syringe, some warm tap water, and several old towels. Depending on your model, you may also need a screwdriver. For more stubborn clogs, having a flexible pipe cleaning brush, a length of automotive wire, or even a can of compressed air on hand can be helpful.
- Protect Your Floor: Place towels around the base of the refrigerator, especially at the front and back. They will absorb any water that spills during the cleaning process.
Pro Tip If you think the fix might take longer than an hour, it’s a good idea to empty your freezer and store the food in a cooler. This gives you much better access to the drain hole and prevents your food from thawing.
Now that you’re prepared, let’s make sure we’re targeting the right problem.
2. Confirm the Culprit: Is It Really the Defrost Drain?
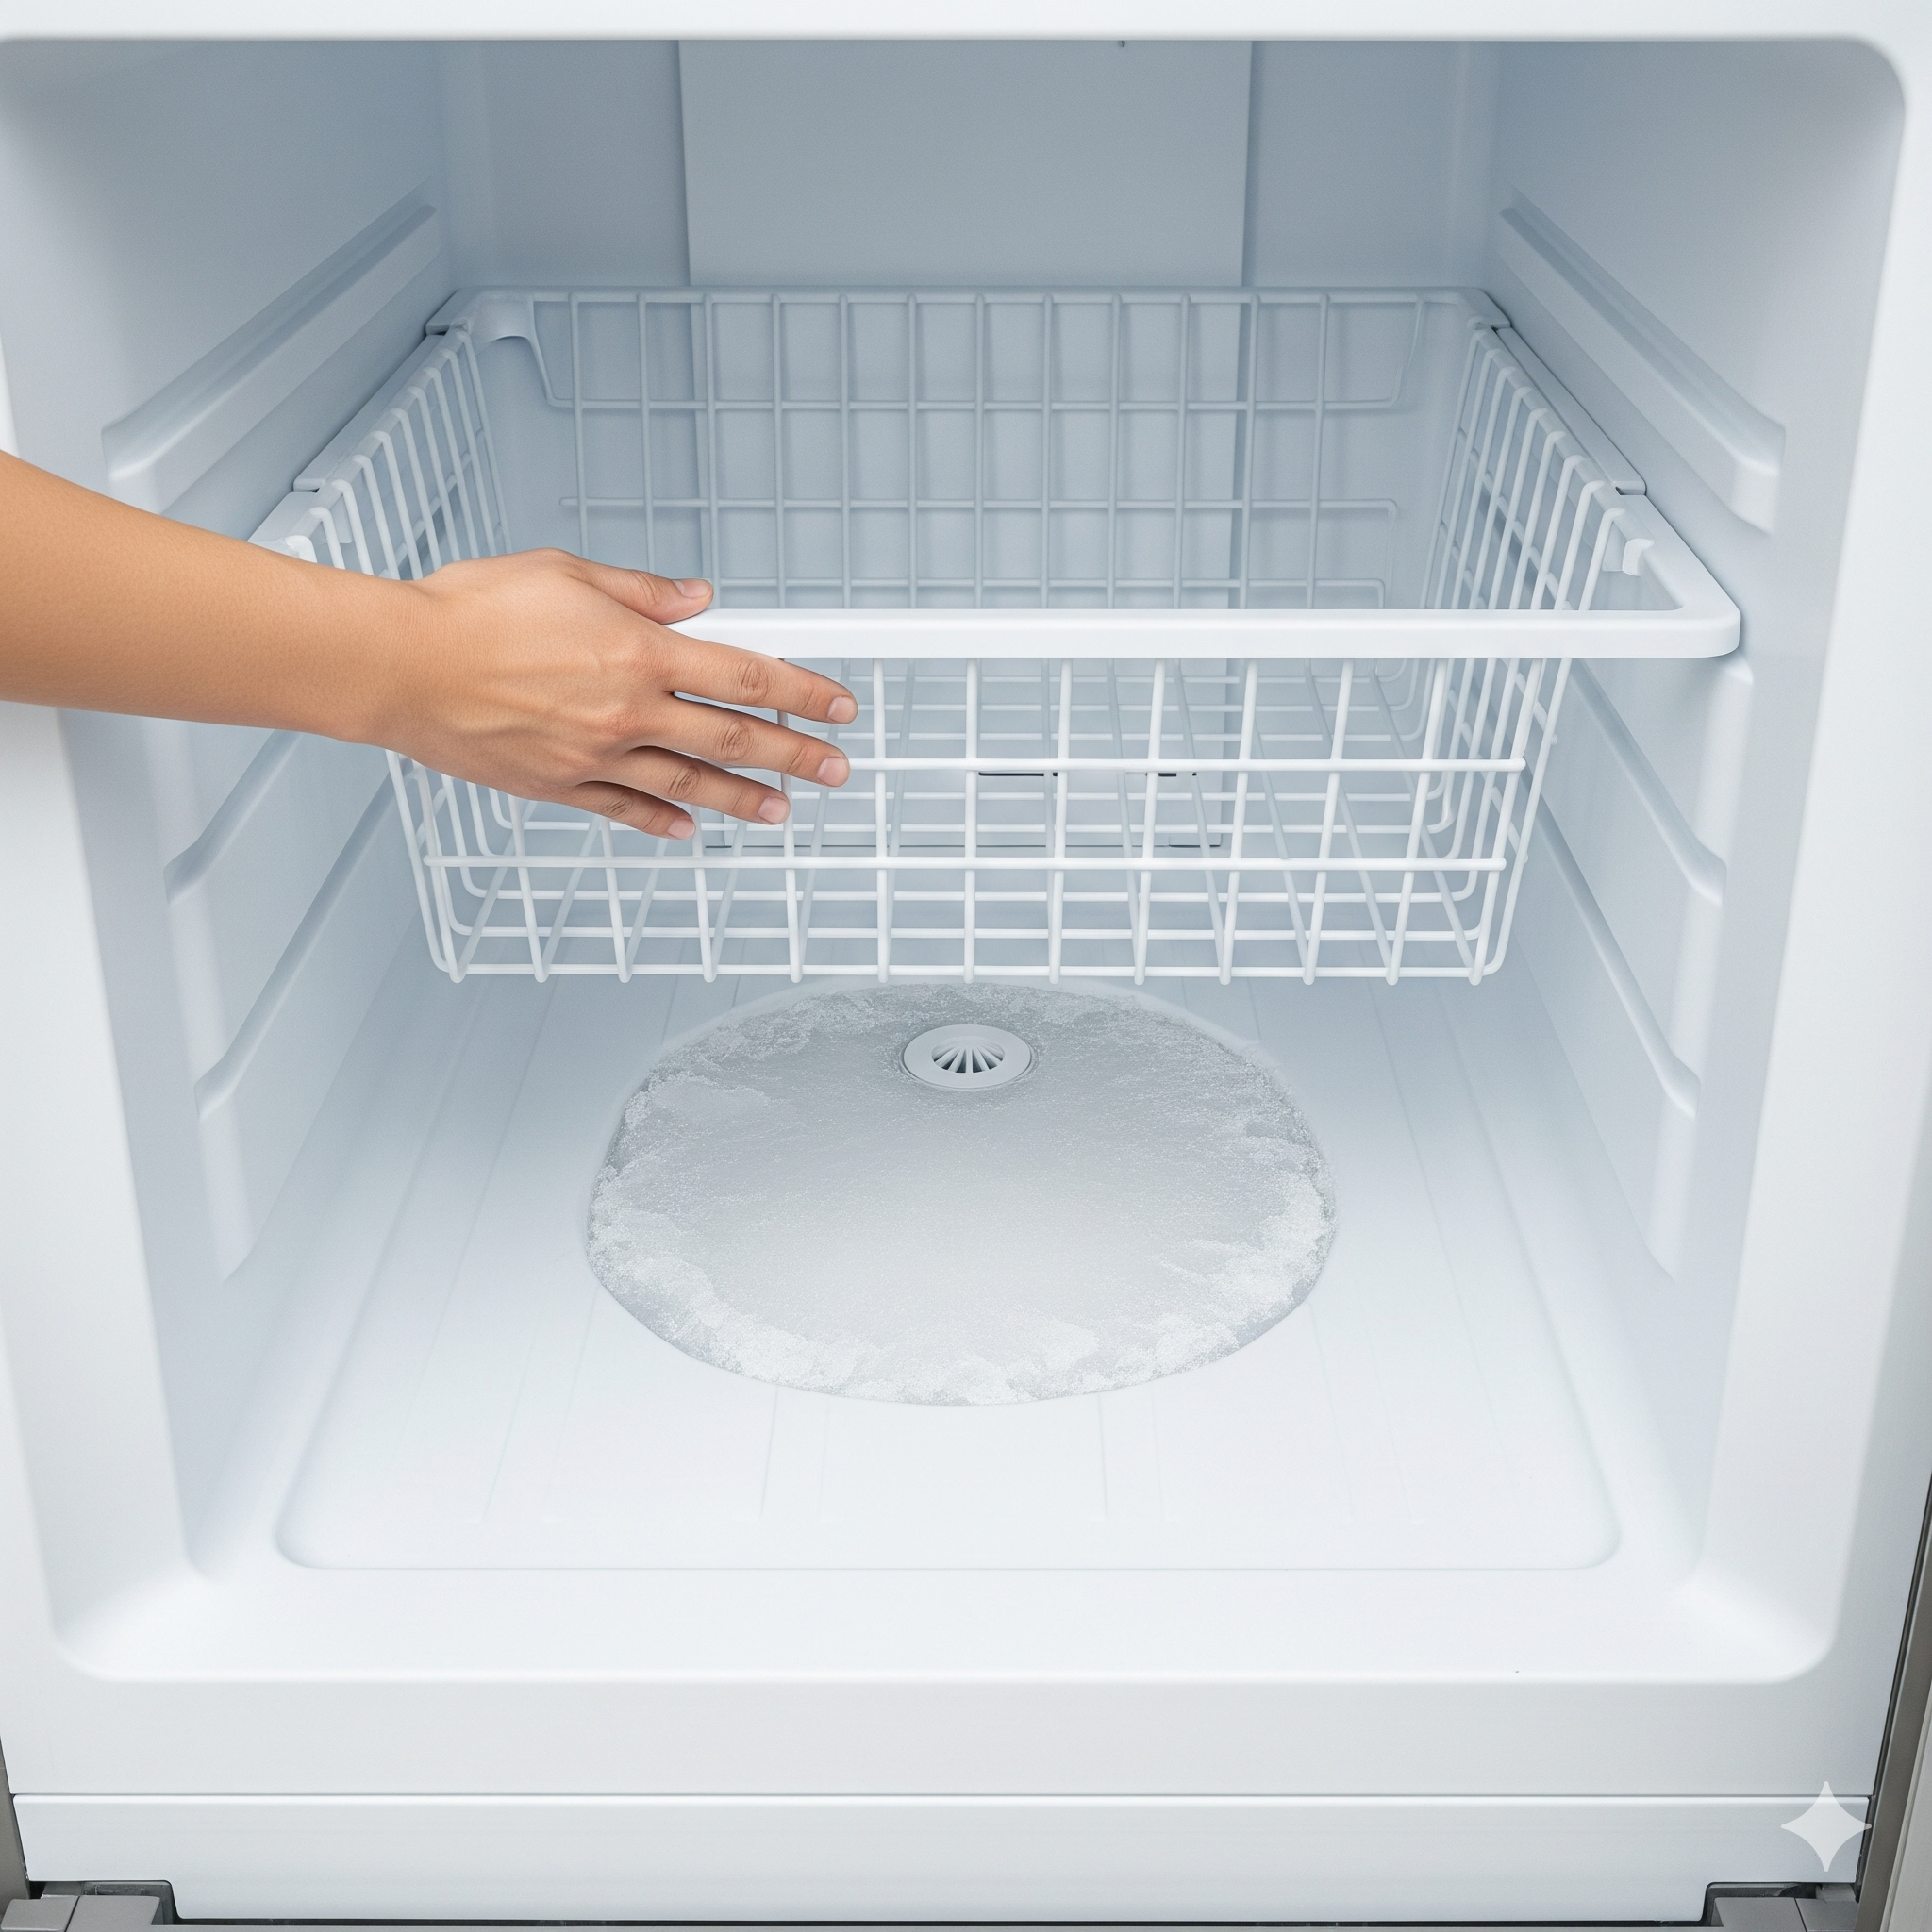
If you find ice forming on the freezer floor, it confirms that melted defrost water has nowhere to go and is backing up out of the clogged drain hole.
Before you start flushing pipes, it’s wise to confirm the symptoms match a clogged defrost drain. Run through this quick diagnostic checklist.
- Puddle Pattern: Does a puddle appear on the floor once or twice a day? A leak that seems to happen on a schedule is a classic sign of a defrost cycle backup.
- Ice Inside the Freezer: Have you noticed a sheet of ice forming on the floor of the freezer compartment, often hidden under the bottom basket? This is the most common evidence of a clogged drain. The defrost water has nowhere to go, so it backs up, overflows into the freezer floor, and refreezes.
- The Drain Pan is Dry: Use a flashlight to look through the front grille or vent at the bottom of the fridge. The drain pan is the shallow tray located underneath. A bone-dry pan is a key indicator that water, melted ice, and food particles aren’t successfully making their way down the drain tube.
- Rule Out Other Leaks: Take a quick look at the back of the refrigerator. The leak should not be coming from the main water supply line that connects to your wall. If that connection is dripping, you have a different issue.
If these signs match what you’re seeing, you can proceed with confidence. Let’s start with the easiest fix first.
3. The First Fix: Clearing the Drain from Inside

Access the rear freezer panel and use a turkey baster filled with warm water to gently flush the drain hole and clear the initial ice plug.
Most clogs are minor ice dams or small bits of debris that can be cleared from inside the freezer. While this can sometimes be a 5-minute fix, be patient. Stubborn ice clogs may require repeated flushing over 10-15 minutes to fully clear.
- Locate the Defrost Drain Hole: Open your freezer and look at the interior back wall. The drain hole is a small opening typically located at the bottom center, often just above where the freezer floor slopes upward.
- Prepare Your Flushing Tool: Fill a turkey baster or a large syringe with warm tap water. Do not use boiling water, as it can damage the plastic liner of the freezer or the drain tube itself.
- Flush the Drain: Position the tip of the baster into the drain hole and forcefully squeeze the warm water down the tube. The goal is to use the warm water and pressure to melt any ice and dislodge the debris. You may need to alternate between flushing with warm water and using the baster to create suction to pull the clog out.
- Manage Overflow: Use towels to sop up any water that overflows the drain hole during this process.
- Repeat and Listen: This may take several applications. As you work, listen carefully. You’ll know the clog is clear when you hear the sound of water running freely down into the drain pan below.
- Check Your Work: To confirm success, peek under your refrigerator at the drain pan. You should now see the water you just flushed from the freezer sitting in the pan.
Pro Tip If you’re dealing with a solid block of ice over the drain, a household steamer is a fantastic tool. It’s more effective than warm water and much safer than a heat gun, which can easily melt or warp the plastic freezer liner.
Don’t be discouraged if the water didn’t go through. It just means the clog is a tougher buildup of dust and sludge at the very end of the tube, which we’ll clear out next.
4. The Deeper Fix: Tackling a Stubborn Clog from the Back
If the flush fails, the clog is likely at the duckbill valve at the end of the tube. Squeeze and clear this rubber piece after accessing the back of the fridge.
If the quick flush didn’t work, the blockage is probably a more solid buildup of biofilm, dust, and sludge at the end of the drain tube. This requires accessing the back of the refrigerator.
4.1. Access the Rear of the Refrigerator
- Pull the Fridge Out: Carefully slide the refrigerator straight out from the wall so you have enough space to work behind it.
- Remove the Access Panel: Locate the thin lower access panel at the back of the unit. It’s usually a piece of sheet metal or cardboard held in place by several screws. Remove the screws and set the panel aside.
Safety Warning “Be very careful—I just cut myself doing this. It is very sharp.” This direct quote from a fellow DIYer is a critical reminder. It’s highly recommended to wear cut-resistant gloves to protect your hands from the metal edges.
4.2. Clean the End of the Drain Tube
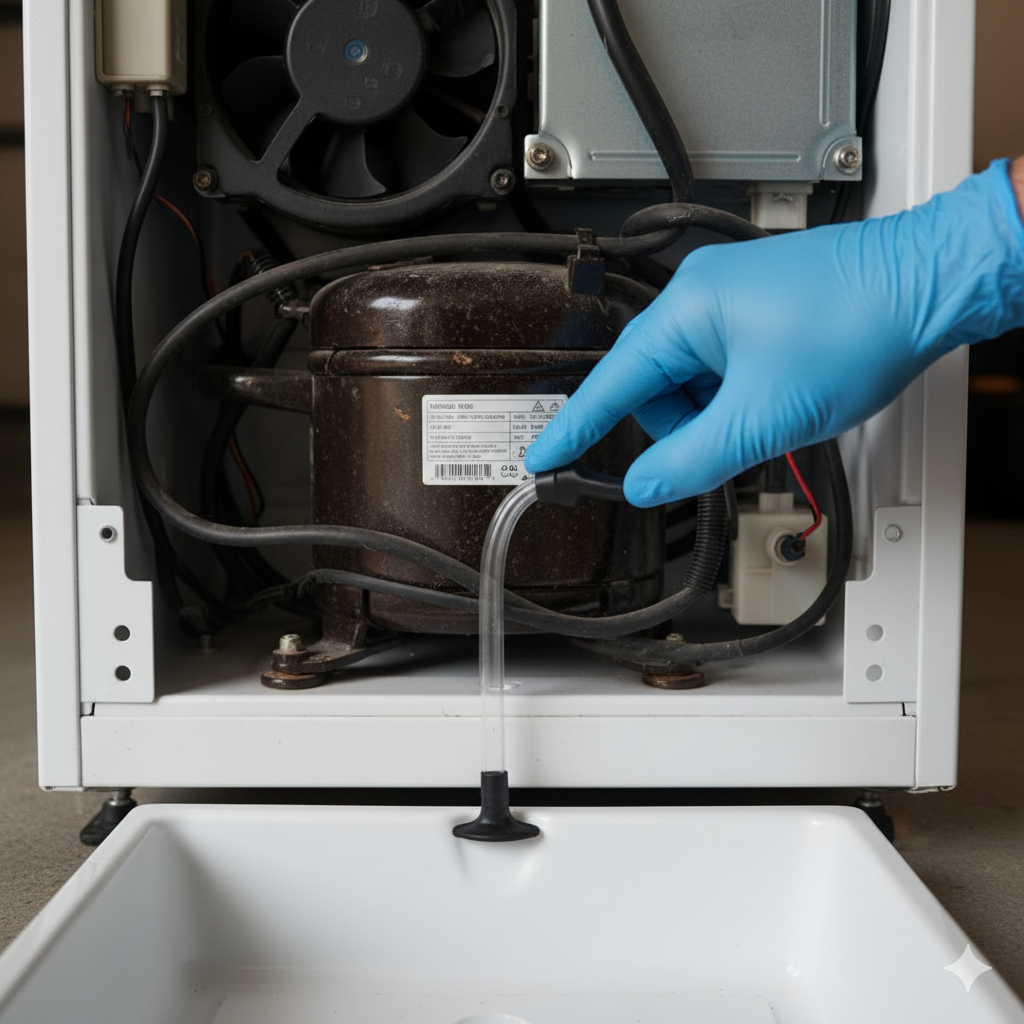
- Locate the Drain Tube: Look for a black rubber or plastic hose that ends just above the drain pan.
- Inspect the Nozzle: Many models have a small rubber “duckbill” valve or nipple on the end of this tube. Its purpose is to stop warm air from entering the freezer, but it’s also great at catching lint and sludge, making it a prime spot for a blockage to form.
- Clear the Debris: Use your fingers to squeeze the rubber nozzle. This action will often dislodge any built-up gunk inside. Pull out any visible debris.
- Test the Flow: After cleaning the nozzle, go back to the freezer and pour another cup of warm water down the drain hole from the inside. It should now flow freely into the drain pan.
If the water still drains slowly, the tube itself may be coated with biofilm. Consider using a flexible drain brush to clean the inside of the tube before reattaching the panel.
5. What if the Drain is Clear but It’s Still Leaking? Check the Drain Pan
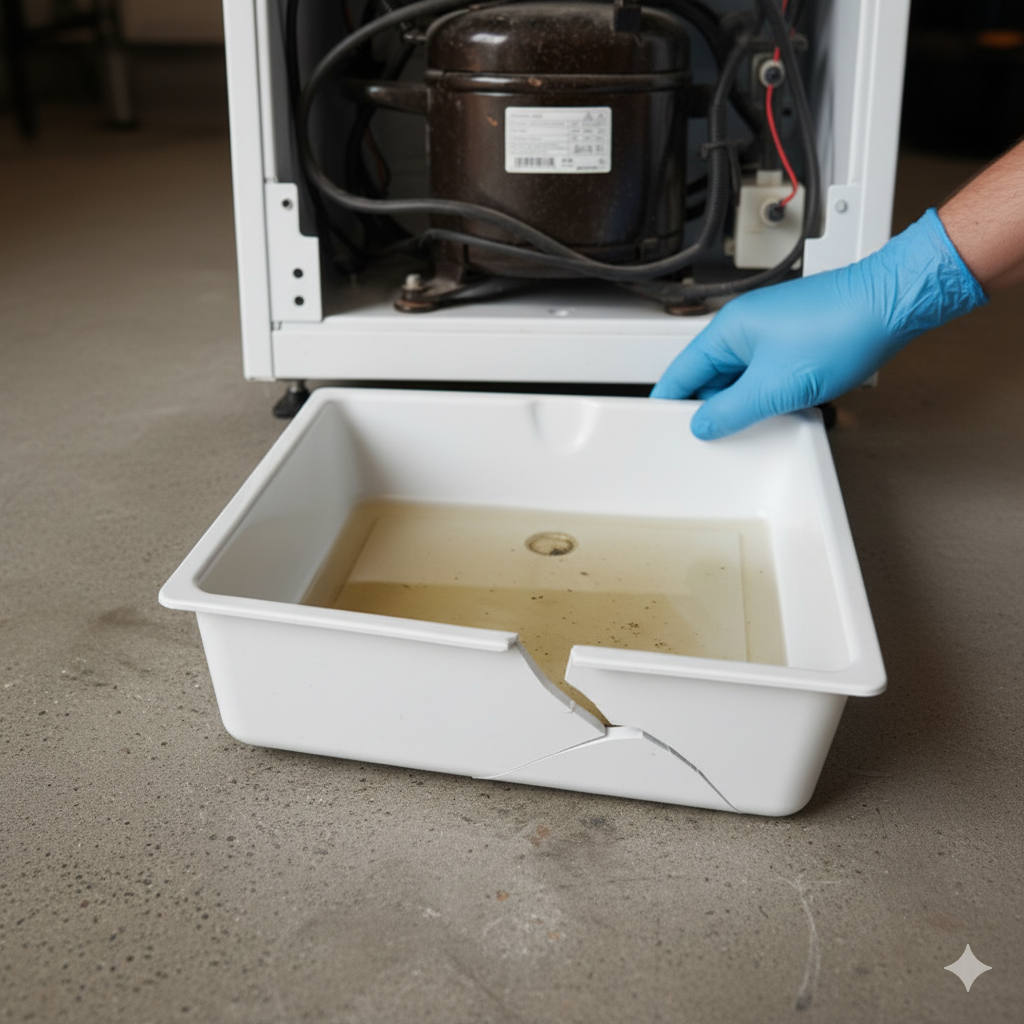
Inspect the plastic drain pan for cracks or warping. If the pan is damaged, the water will leak directly onto your floor and must be replaced.
In some cases, the drain tube is working perfectly, but the pan designed to catch the water is the source of the leak. Here are the two most common drain pan problems.
| Potential Problem | How to Fix It |
| Cracked or Damaged Pan | Carefully slide the drain pan out from its position under the refrigerator. Inspect it closely for any cracks, holes, or warping. If the pan is damaged, it will need to be replaced. |
| Improperly Leveled Fridge | A slight backward tilt is essential, as it allows coolant to flow freely and ensures defrost water runs correctly into the pan. Place a level on a shelf inside the fridge. Adjust the front leveling legs (turn clockwise to raise) until the front is about a quarter-inch to a half-inch taller than the back, creating a slight backward tilt. |
6. When to Call a Professional
If you have successfully cleared the drain and confirmed the pan is intact, but your freezer continues to build up excessive sheets of ice that melt and cause leaks, the problem likely lies deeper within the defrost system. Components like the defrost heater or thermostat may be failing.
Diagnosing and replacing these internal parts is a more complex and technical job. At this point, it is best to call a professional service technician to ensure the repair is done safely and correctly.
Need professional appliance repair for persistent refrigerator leaks or ice problems in the Peachtree Corners area?
While drain clogs can often be DIY fixes, if your refrigerator is continuously leaking, has an undetected crack, or if the defrost system components are failing, it’s time to call in the experts. Our certified technicians can quickly diagnose and resolve complex issues.
Gwinnett County Community Service Area:
| Lilburn | Norcross | Snellville | Rest Haven |
| Berkeley Lake | Suwanee | Centerville | Lawrenceville |
| Dacula | Mountain Park | Braselton | Buford |
| Peachtree Corners | Duluth | Grayson | Sugar Hill |